
Queen Bee Tote Bag - Tutorial - Accentuate That Bag!
Here Are The Items That You Will Need...
- Queen Bee Machine Embroidery Pattern
- Striped Heavyweight Material
- Medium Weight Cut Away Stabilizer
- Ruler
- Pins
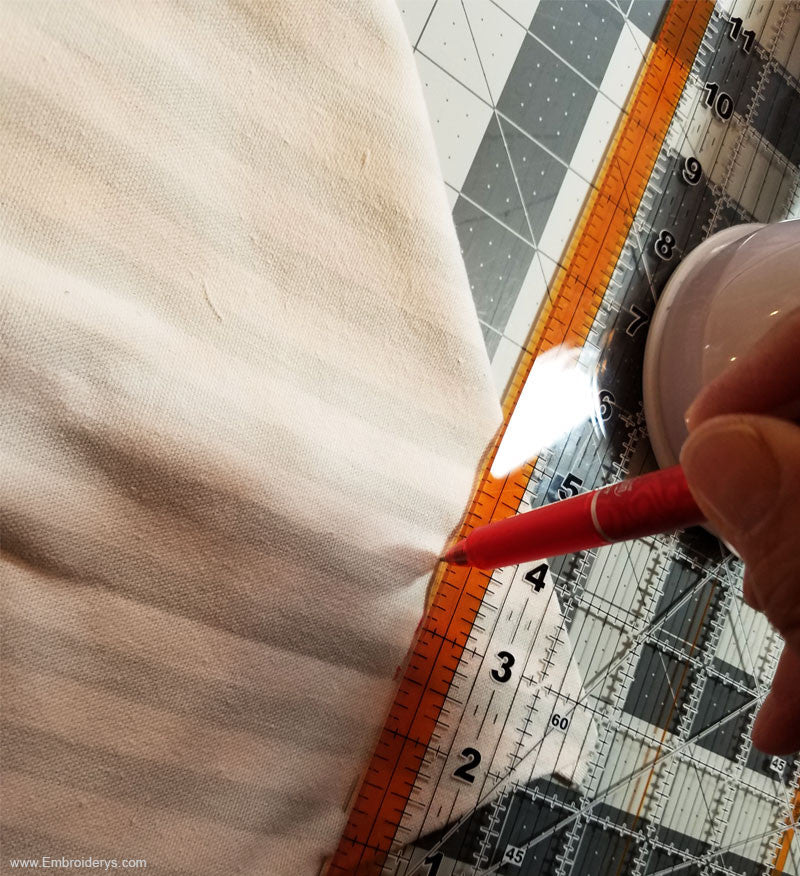
- Erasable Pen
To Begin...
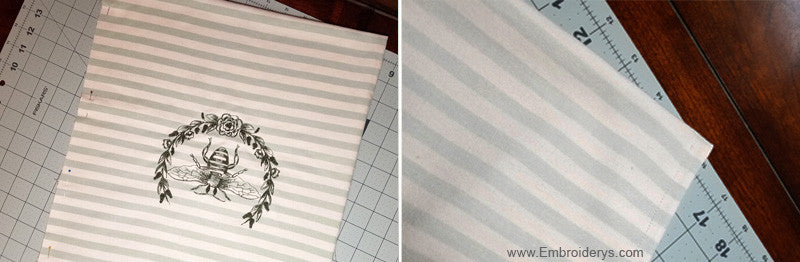
- Start by cutting your material to the desired size. In this case, we measured and cut our fabric to be 14" wide by 31" long. This will be used to create a 14" wide by 14" (355.60w x 355.60h mm) bag when finished.
- Once cut, we then embroidered Queen Bee onto front of material. We marked and measured center line marks on the front of the material, and then lined up the center marks on the material, to the center marks on our hoop.
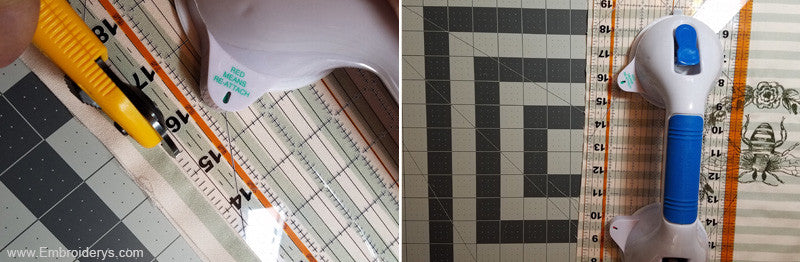
- Using the same material, we then cut the handles 3" wide (76.20mm wide), then to the desired length.
- Cut top hem 3" (76.20mm) in width of fabric then to size of bag to fit top.
To Create Your French Seams:
Step 1
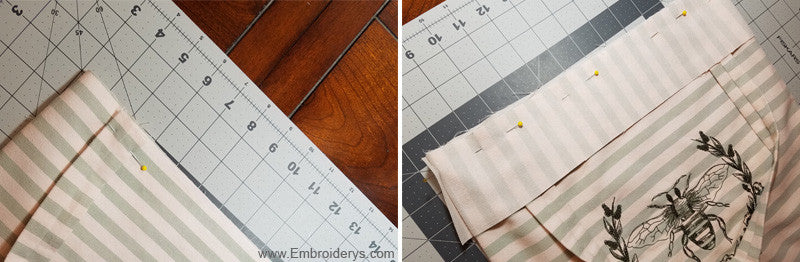
Form bag by sewing wrong sides together using the fold as the bottom of the bag.
Step 2
Sew 1/4" inch (6.35mm) seams on sides. Then trim to 1/8" of an inch (3.175mm).
Step 3
Iron your seams. Open the pieces of fabric and lay it out flat on an ironing board. Iron across the seam on both right and wrong side of fabric so it lays flat. Fold the fabric so that the right sides are facing each other (the opposite of how it was when you sewed the first seam). Iron the piece with the seam you just sewed down the outer edge of the fabric. Be sure to keep all perfectly straight.
Turn bag right sides together press seam, then sew 3/8" (9.53mm) of an inch to form a casing. Do the same to second seam. Turn bag right side out.
Step 4
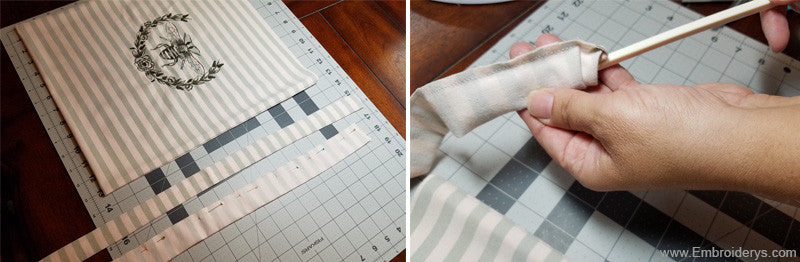
With right sides together sew handles, sew one bottom of handle, pull through itself, press.
Step 5
Square off the top of the bag and sew top hem and handles onto bag. Turn hem hand stitch to finish.
Step 6
Form bottom of bag by pinching side seam and bottom of bag together about 2 1/2" inches (63.5mm) up from point of side seam sew across to form a triangle.
That's All There Is To It!
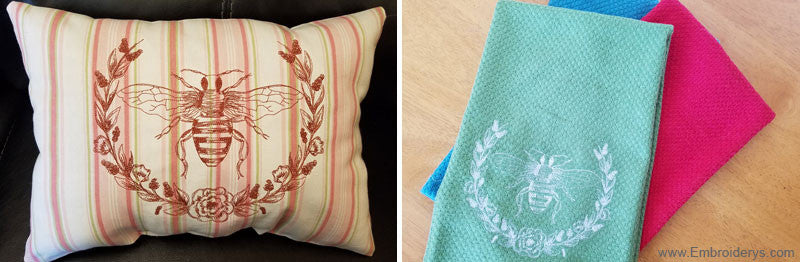
The beauty of any embroidery pattern is its versatility. Below you can see some other ideas that popped in to our heads and how we simply took the same design and applied it to a few other projects.
Recent Posts
-

Hurricane Helene Fundraiser - Lets Help
Hurricane Helene - Lets Help Hi all, it has been a while since we have done a fundraiser and with …Oct 4th 2024 -

The Four Basic Types of Stabilizers!
The Four Basic Types of Stabilizers!Check out how they are used via our infographic below. …Sep 23rd 2024 -

Our 5 Most Popular Projects! - Tattered Stitch Embroideries
Want to view some of our most popular in-the-hoop designs? Look no further!...Placemats - https://ww …Dec 14th 2023